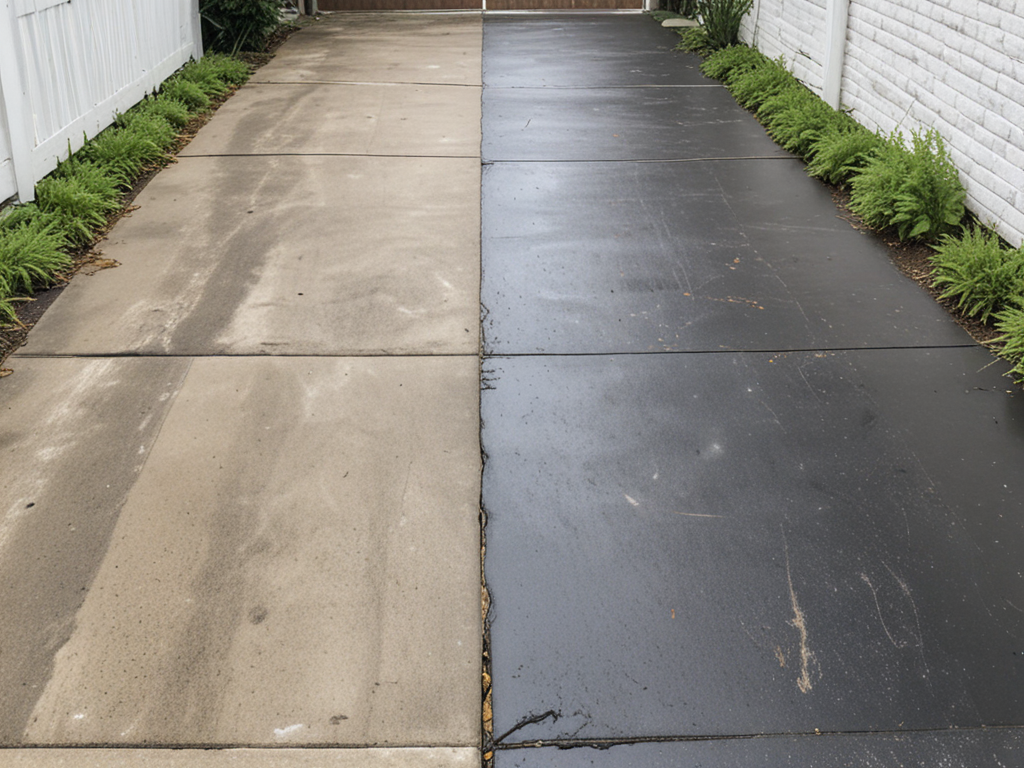
Have you ever noticed how a simple clean-up can completely alter the appearance of a space? Walking through a neighborhood, the difference between a dirty driveway and a freshly pressure washed one is striking. The transformation is not just aesthetic; it also impacts the overall upkeep of your property. Let’s explore the process and benefits of pressure washing your driveway, from the initial steps to the final results, and understand why this maintenance task is more than just a surface-level improvement.
Key Takeaways
- Immediate visible results in cleaner and brighter surface enhance curb appeal.
- Proper preparation steps ensure effective cleaning and surface restoration.
- Safety gear like goggles, gloves, and footwear protect during pressure washing.
- Utilizing correct techniques ensures efficient and thorough driveway transformation.
Benefits of Pressure Washing
When pressure washing driveways, I find that the benefits are immediately visible in the form of a cleaner and brighter surface. Who knew that beneath all that grime lay a hidden gem of a driveway just waiting to shine? The surface restoration achieved through pressure washing not only enhances the curb appeal of your home but also gives you a sense of pride in your property that you can’t help but show off to the neighbors.
The deep cleaning power of pressure washing doesn’t just stop at making things look pretty; it also plays a crucial role in increasing the longevity of your driveway. By removing built-up dirt, mold, and other contaminants, you’re not only improving the appearance but also preventing potential damage that could lead to costly repairs down the road.
In the world of pressure washing, it’s not just about cleanliness; it’s about transforming your driveway into a beacon of beauty and resilience.
Preparation Steps Before Pressure Washing
Before embarking on the pressure washing process, it’s essential to thoroughly prepare the driveway surface to ensure optimal results. Here are some crucial steps to follow:
-
Surface preparation: Remove any loose debris, like leaves or twigs, from the driveway. This will prevent them from getting blasted around during pressure washing, potentially causing damage.
-
Cleaning process: Give the driveway a good sweep to get rid of dirt and dust. For oil stains, use a degreaser to pre-treat the area before pressure washing.
-
Water drainage: Ensure proper water drainage by clearing any clogged drains or gutters along the driveway. This will prevent water pooling and aid in a more effective cleaning process.
-
Cleaning chemicals: Choose the appropriate cleaning chemicals based on the driveway surface material. Always follow the manufacturer’s instructions to avoid any mishaps or unwanted reactions.
Tools and Equipment Needed
I’ll start by highlighting the essential cleaning supplies and proper safety gear required for successful driveway pressure washing. These items are crucial for achieving a thorough and safe cleaning process. Let’s take a closer look at the tools and equipment that will help us achieve impressive results.
Essential Cleaning Supplies
To effectively clean driveways through pressure washing, the essential cleaning supplies include a high-pressure washer, surface cleaner attachment, detergent specifically formulated for pressure washing, safety goggles, gloves, and sturdy footwear.
Essential Cleaning Supplies:
- High-Pressure Washer: The mighty machine that blasts away dirt and grime.
- Surface Cleaner Attachment: Makes cleaning large areas a breeze.
- Pressure Washing Detergent: The secret sauce for a spotless finish.
- Safety Gear: Protect your eyes, hands, and feet – goggles, gloves, and sturdy footwear are a must!
With these tools in hand, your driveway will go from grubby to gleaming in no time. Just remember, with great power comes great responsibility… and a clean driveway!
Proper Safety Gear
When gearing up for pressure washing, ensuring you have the proper safety gear is essential for protecting yourself during the driveway cleaning process. Before you unleash the power of that pressure washer, make sure you’ve got your safety game on point. This means investing in some protective gear like goggles to shield those precious eyes from flying debris, sturdy gloves to keep your hands unscathed, and non-slip footwear because nobody wants to do the pressure washer waltz. Oh, and let’s not forget about some ear protection to drown out the noise; those pressure washers can be chatty! Remember, safety first, folks. Don’t be that person who ends up looking like a muddy superhero because they skimped on the safety precautions.
Pressure Washing Techniques
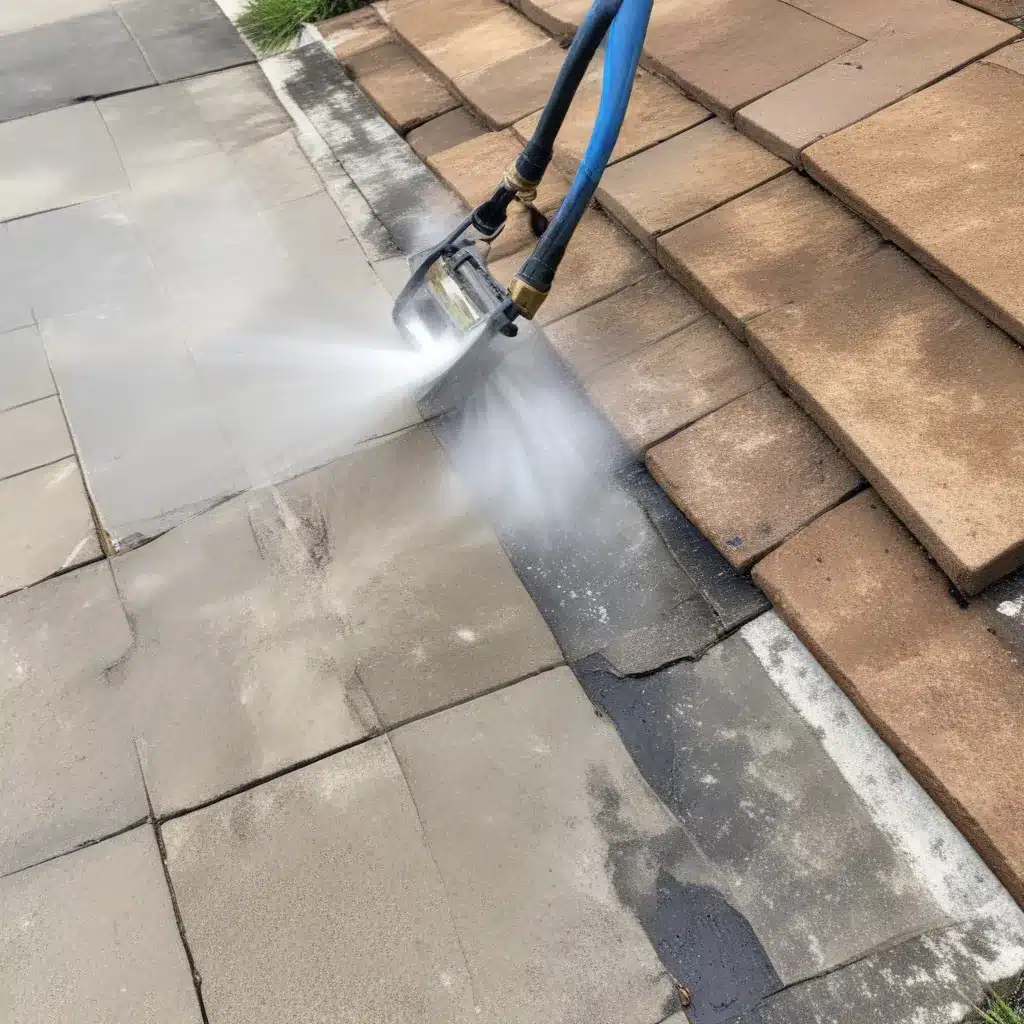
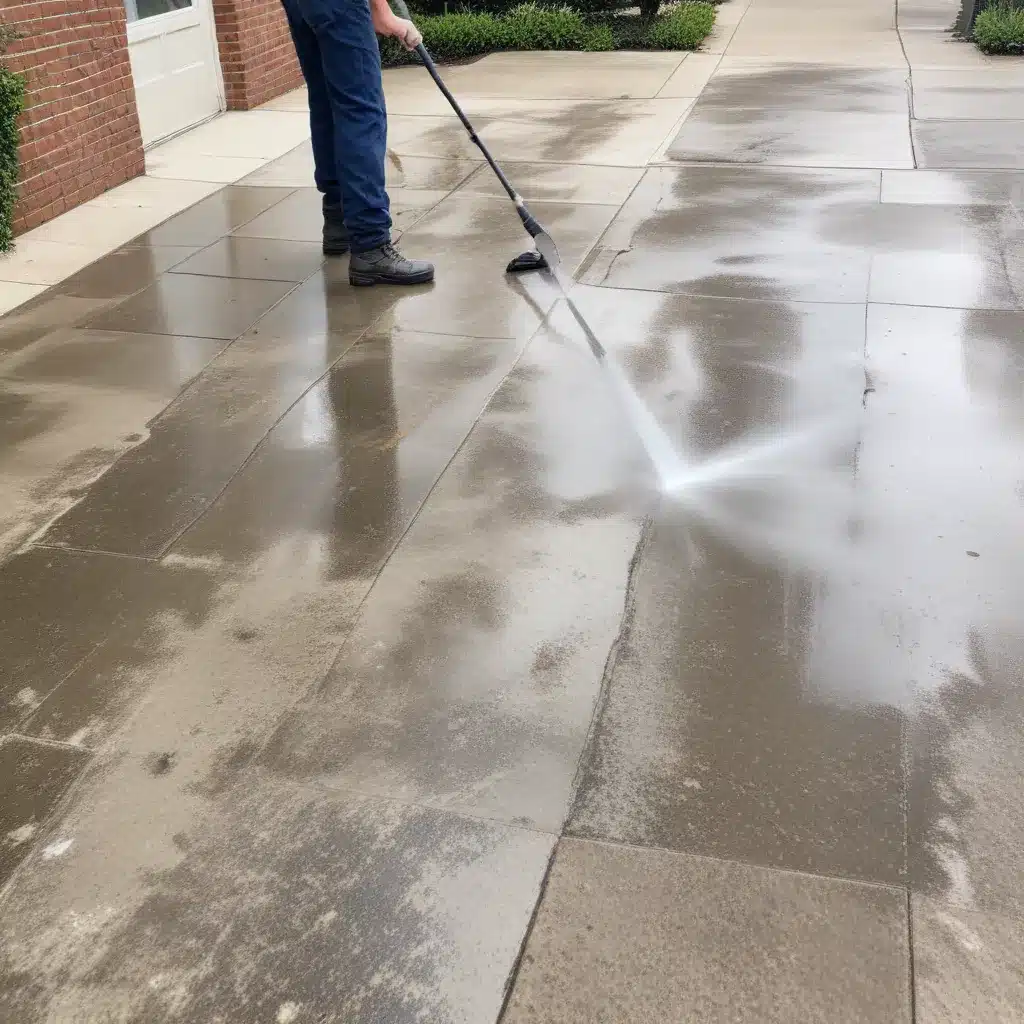
Using high-pressure water spray is the primary method employed in pressure washing techniques to effectively clean driveways. When it comes to blasting away dirt and grime from your driveway, here are some essential tips to make your pressure washing experience smoother and more efficient:
-
Surface Preparation: Before diving into the pressure washing fun, make sure to clear the driveway of any debris or obstacles. Nobody wants their pressure washer to unintentionally turn into a debris launcher!
-
Water Pressure: Adjust the water pressure according to the surface you are cleaning. Too much pressure on delicate surfaces can lead to unexpected results – like accidentally carving your name into the driveway.
-
Nozzle Selection: Choose the nozzle that best suits the task at hand. It’s all about finding the right fit – just like trying on shoes, but instead, you’re dealing with high-pressure water.
-
Technique: Work systematically, moving back and forth in smooth motions. Pretend you’re painting a masterpiece, except instead of a brush, you’re wielding a powerful water spray gun.
Common Driveway Stains to Remove
I’ll begin by highlighting two common driveway stains that can be quite bothersome: oil stains and mold/mildew growth. Removing oil stains can be a tough task due to the nature of the substance penetrating the surface. Mold and mildew not only look unsightly but can also be slippery and hazardous. Let’s explore effective ways to tackle these stains and restore the pristine look of your driveway.
Oil Stains Removal
To effectively remove oil stains from driveways, consider using a specialized degreaser solution designed for this purpose. When battling those stubborn oil splotches, here are some tips that might save your driveway and your sanity:
- Baking Soda Paste: Mix baking soda with water to create a paste, scrub it on the stain, and let it sit for a while before rinsing.
- Coca-Cola Magic: Pour some Coca-Cola over the oil stain, let it bubble away the grime, then scrub and rinse.
- Kitty Litter Trick: Cover the stain with kitty litter, let it soak up the oil overnight, and sweep it away in the morning.
- Dish Soap Delight: Apply dish soap directly on the stain, scrub vigorously, and wash away the oil remnants.
With these DIY hacks, your driveway will be oil-stain free in no time!
Mold and Mildew
Mold and mildew are common driveway stains that can be effectively removed with the right cleaning techniques and products. To tackle these pesky growths, I recommend a mixture of equal parts water and vinegar. Not only does this solution help in removing mold and mildew, but it also acts as a preventive measure. Here’s a fun table to help you understand the difference between mold and mildew:
| Mold | Mildew |
|---|---|
| Fuzzy texture | Powdery texture |
| Penetrates surface | Stays on surface |
| Black, green, or blue | White or gray |
Maintaining a Clean Driveway
Regularly sweeping and rinsing your driveway helps to prevent dirt and debris buildup, maintaining a clean and inviting appearance. But to really keep your driveway looking fresh and on point, here are a few tips I swear by:
-
Stay on Top of It: Make driveway cleaning a part of your routine. A quick sweep every week can do wonders and prevent the dreaded buildup.
-
Treat Stains Swiftly: Don’t let oil spills or other stains take up permanent residence. Attack them with the right cleaning solutions pronto!
-
Mind the Cracks: Pesky weeds and grass love to make an appearance in the cracks of your driveway. Pull them out before they start a garden party.
-
Seal the Deal: Consider sealing your driveway to protect it from the elements. It’s like giving your driveway a little raincoat to weather any storm.


